Adding Your First Property
Create a property, choose a property type, and add units.
Properties are the top level of your portfolio. Everything else — units, tenants, leases, financials — hangs off a property, so this is always the first thing to set up.
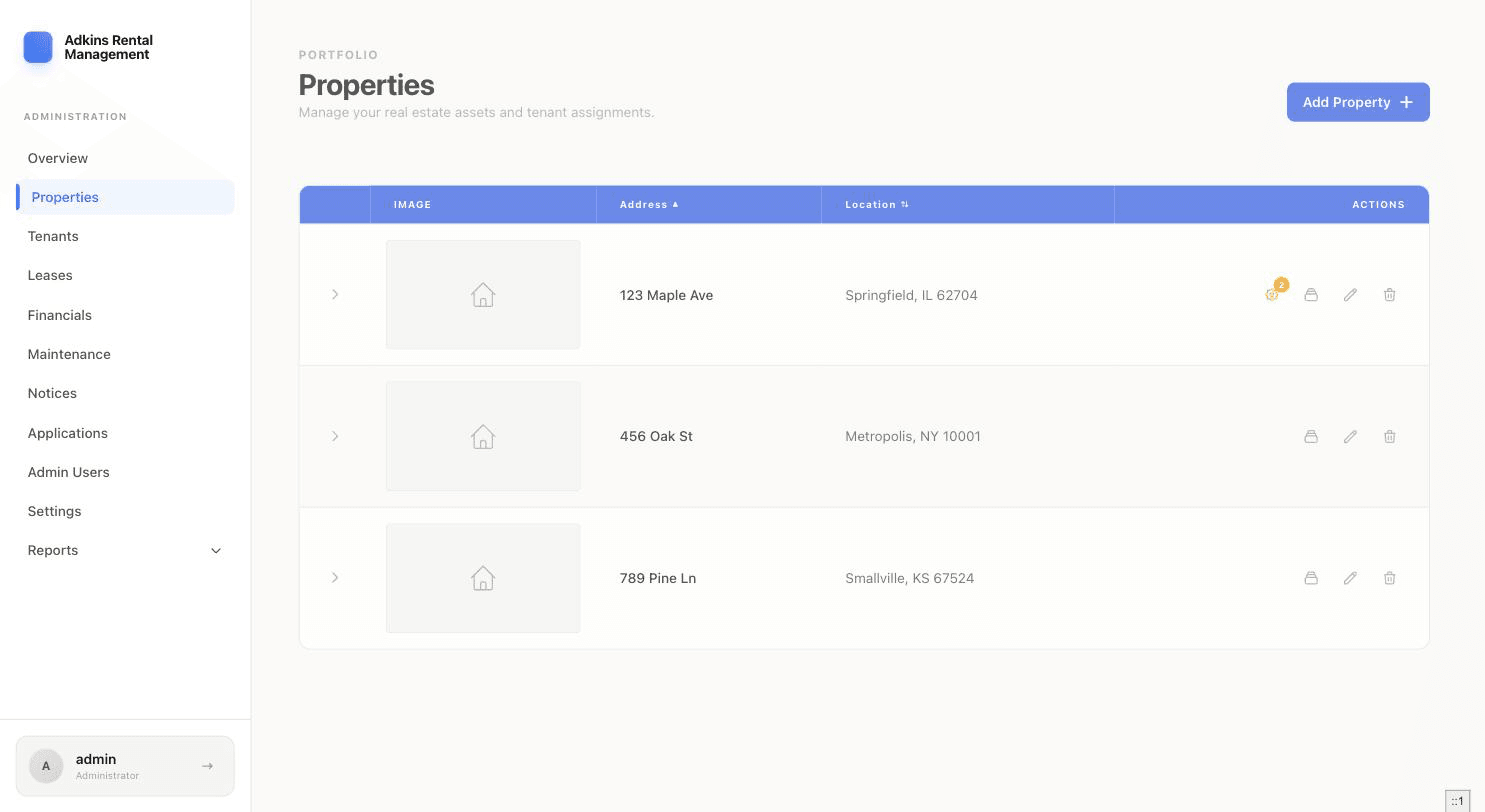
- 1Open Properties and click Add PropertyIn the sidebar, go to Properties, then click the Add Property button in the top right.
- 2Choose a property typeThis determines what fields you'll fill in next: Apartment Building, Multi-Family (Duplex/Triplex), Single Family, Condo, Townhouse, Commercial, or Garage/Storage. Apartment and Multi-Family properties are unit-based — you'll add individual units afterward. Single Family, Condo, and Townhouse are treated as one rentable space, so the form asks for Beds/Baths/Sq Ft right away instead.
- 3Enter the addressType the street address. If Google Maps autocomplete is available on your account, selecting a suggested address automatically fills in City, State, and Zip, and checks whether a Street View image exists for a photo preview.
- 4Add a photo (optional)Upload your own photo, or if a Street View image was found for the address, click Use this photo to use it instead.
- 5Fill in the remaining detailsCity, State, and Zip Code are required. Description is optional — it's just for your own reference.
- 6Create the propertyClick Create Property. You'll land back on the Properties list with your new property at the top.
Tip
For apartment buildings or multi-family properties, the next step is adding units — see Managing Units. For a single-family home, condo, or townhouse, you're ready to skip straight to adding a tenant and lease.