Creating and Editing Leases
Set up a lease, add co-signers, configure late fee policy, and attach documents.
The Leases page lists every lease across your portfolio, with filters for property, expired leases, and leases expiring within 120 days. Status badges — Active, Active · M2M, Expiring Soon, Expiring, Expired, Inactive — tell you where each one stands at a glance.
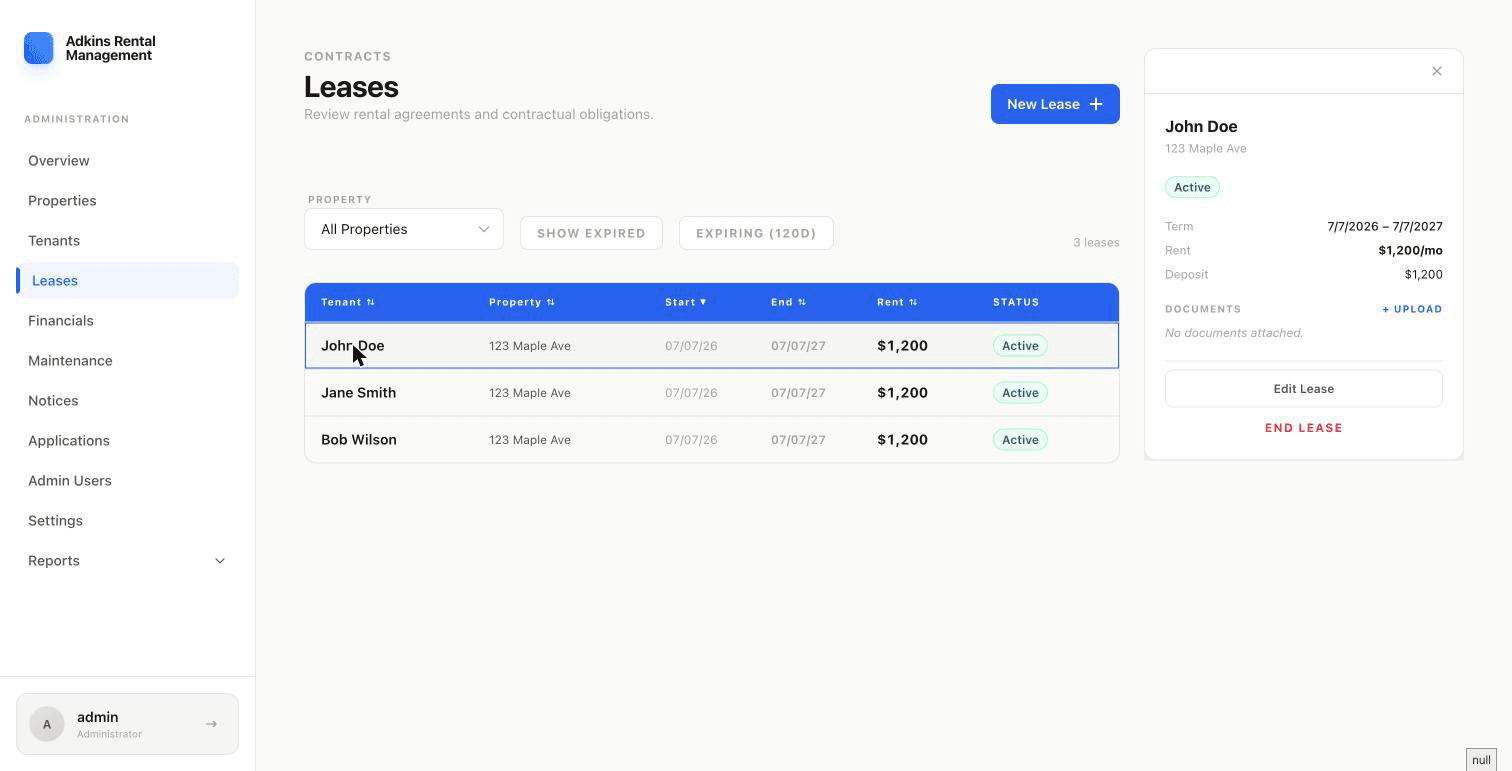
Creating a lease
- 1Click New LeaseChoose the property, then the unit (or "Whole property" if it doesn't have units), then the resident.
- 2Add co-signers if neededClick "+ Add co-signer" to add additional tenants to the same lease — each gets their own dropdown, excluding whoever's already selected.
- 3Set the term and rentEnter a Start date and End date, or check Month to month to leave it open-ended. Then set Monthly Rent and Deposit.
- 4Configure the late fee policySet the grace period in days, choose Flat fee or Per day, and enter the amount. A helper line summarizes it in plain language as you go.
- 5Generate the contractThis creates the lease and marks the unit occupied.
Editing a lease
Open the lease and click Edit Lease — all the same fields, plus a Billing Start Date override if you need rent charges to begin on a different date than the lease start.
Attaching documents
In the lease's detail panel, the Documents section lets you upload signed copies, addenda, or anything else worth keeping on file (PDF, JPG, or PNG). Each document can be removed individually later.
Ending a lease
Heads up
"End Lease" (available on active leases) marks the lease inactive and the unit vacant as of the end date you enter — this cannot be undone. For a tenant who's actually moving out, use the full Move-Out flow instead so the deposit gets handled too.