Reviewing Rental Applications
What applicants submit on your public application form, and how to approve or reject them.
Applications you receive through your public application form (at /apply — no login required for applicants) land here for review.
What applicants fill out
A 5-step wizard: Personal info, Address, Rental History (up to 3 previous landlords), Employment & Occupants (with pay stub uploads), and References & Consent. The last step includes a background-check authorization and notes that a $48 screening fee is collected separately by TransUnion SmartMove after they submit — not by you directly.
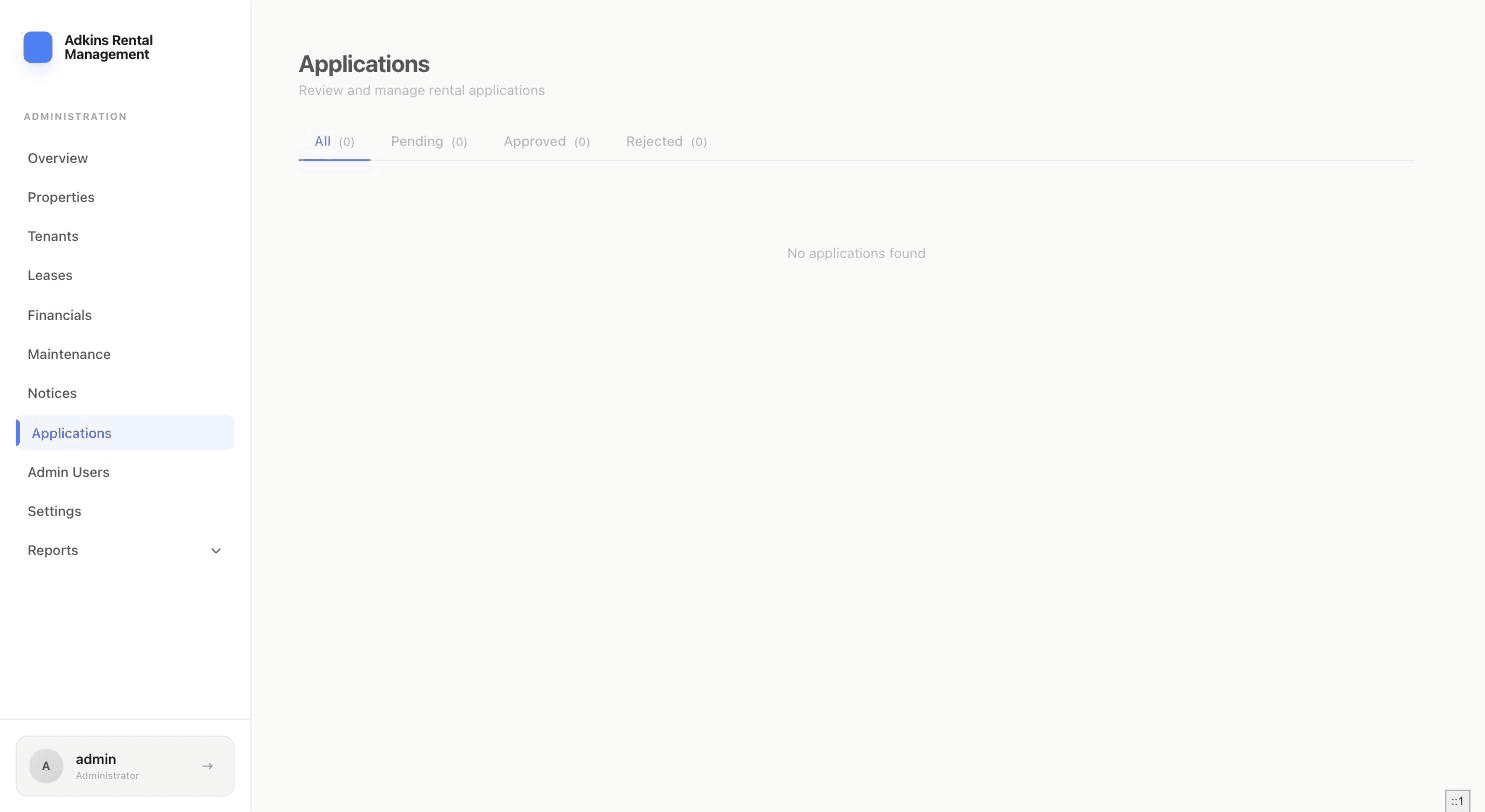
Reviewing an application
Click a row to open the full application: personal info, current address, employment and income, rental history, other occupants, references, and their consent record. There's also a private Admin Notes field the applicant never sees.
For background/credit screening, RentSystems doesn't run the check itself — the copy here directs you to send the SmartMove invite externally, then record the outcome using the Screening Status field (Not Requested / Requested / Clear / Flagged) plus optional notes.
Approving an application
- 1Click ApproveThis is the one action that does real setup work: it creates a tenant account and a lease from the application in a single step.
- 2Confirm the lease termsChoose the Property and Unit, Lease Start (and optional End — leave blank for month-to-month), Monthly Rent, Security Deposit, and the late fee grace period/type/amount.
- 3Approve & Create TenantThis generates the tenant's login the same way manually adding a tenant would.
Rejecting, archiving, or deleting
Reject lets you add an optional reason and choose whether to email the applicant. Archive tidies up the list without deleting anything. Delete is only available for applications that haven't been approved, and is permanent.